How to Use Storycard Theater
Tips for Performing & Making Kamishibai
Storycard Theater dramas are easy to read and fun to watch. Each card has large, clear text on the back and colorful artwork on the front, which lets you read to an audience while showing it the pictures. (No more twisting your neck to read a picture book!) Here are four simple tips for performing Storycard Theater effectively.
1. Sort
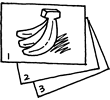
Make sure the cards are in numerical order. (Each card is numbered on the front and back.)
2. Position
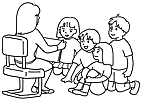
Hold the stack of cards so that the text faces you and the pictures face the audience. You can rest the cards on your lap or a desktop.
3. Read
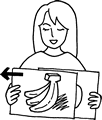
With the cards stacked properly, the text on the card facing you will correspond to the picture on the card facing the audience. Read the text.
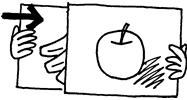
4. Exchange
When you finish reading a card, slide the card facing the audience to the side with a dramatic flourish and move it to the back of the deck.
For Kids of All Ages
Storycard Theater dramas are designed to be read to children ages 3–8, and to be performed by ages 8 and up. They are ideal for groups of up to 25.
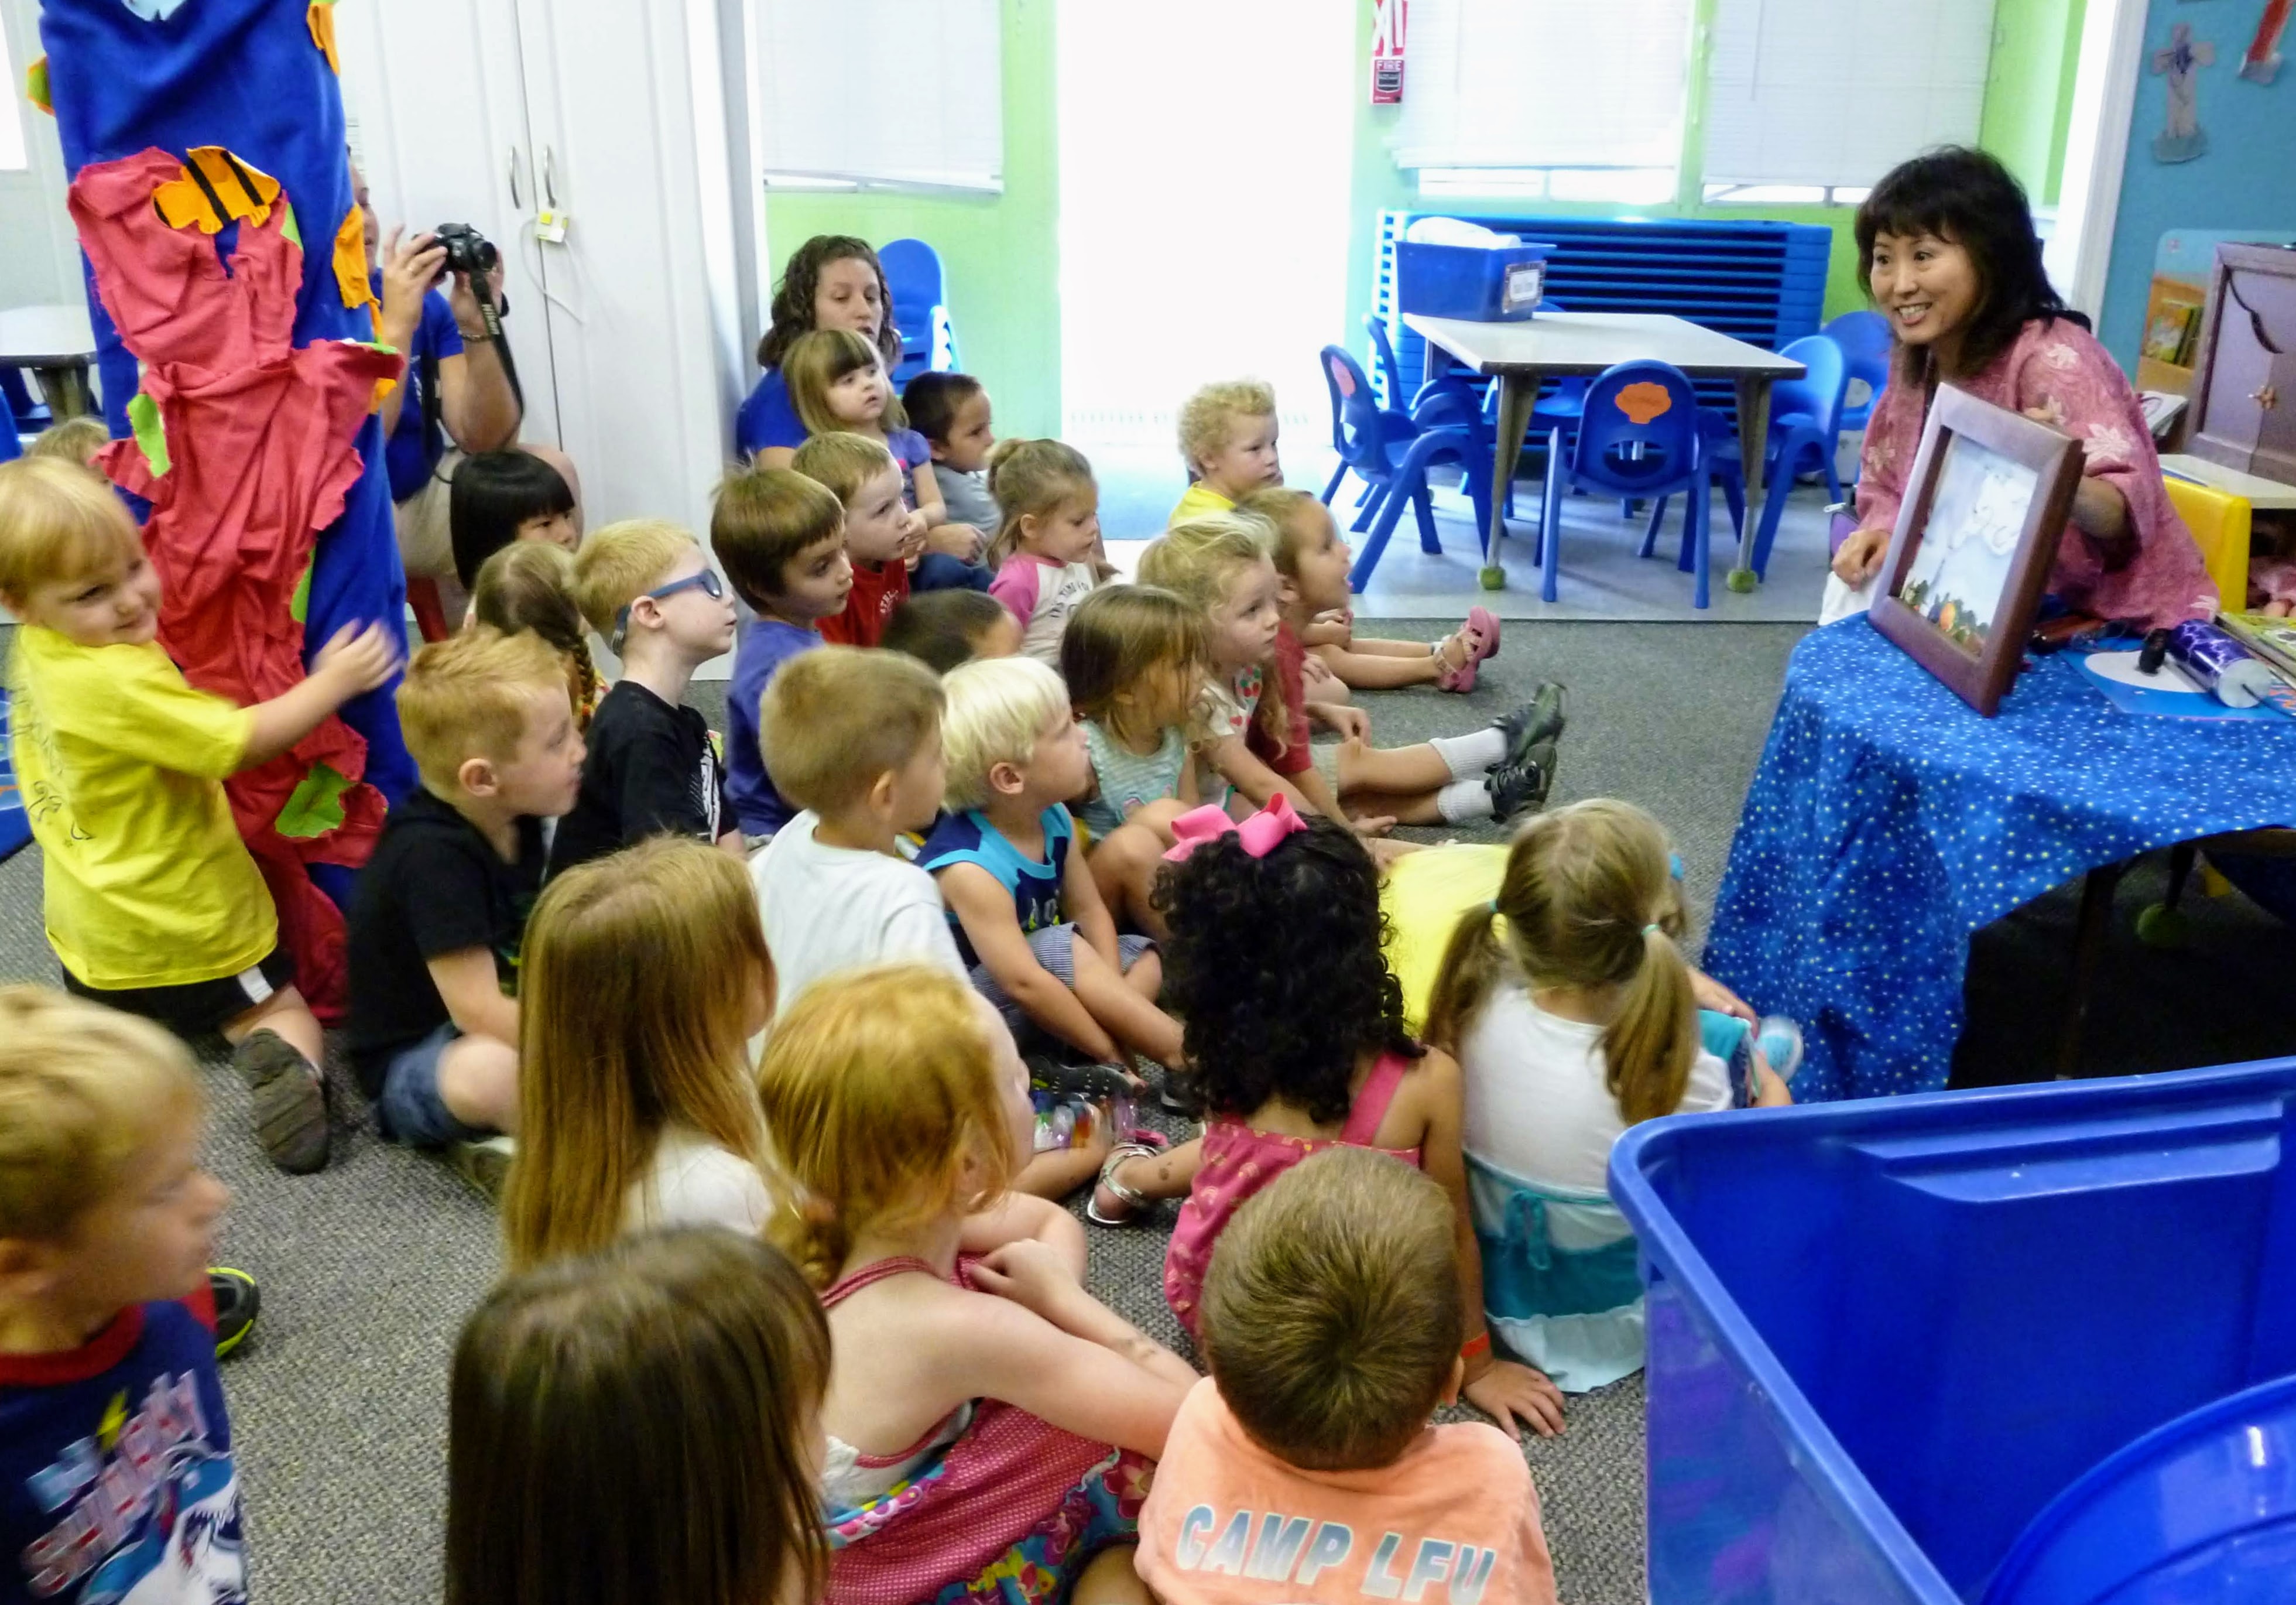
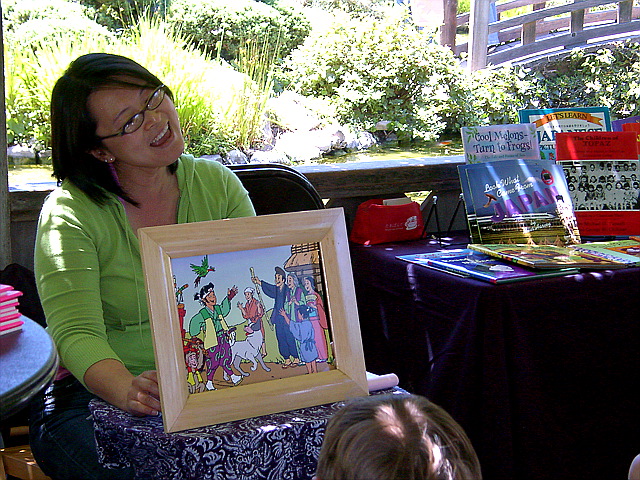
Hazuki Kataoka performs The Cat with No Name.
Pronunciation Guide
Our stories include foreign words for spice and authenticity. The first card in the deck contains a pronunciation guide. Here’s an audio version.
The Cat with No Name
Hear author Nina Khashchina pronounce the Russian words in Cat.
Momotaro the Peach Boy
Hear author Hazuki Kataoka pronounce the Japanese words in Momotaro.
The Moon Princess
Hear author Hazuki Kataoka pronounce the Japanese words in The Moon Princess. (Music from our Bamboo Soul CD)
Add Sound & Music
Clapping Sticks
Like the traditional kamishibai storytellers, we begin our performances by clapping two sticks together. (Kids in the audience like to try this, too.) For their portability and clear sound, we use a pair of hardwood claves We’ve also built more traditional clapping sticks from 2×2 lumber: Cut two pieces about 8–10 inches long, drill a hole near the end, and attach the sticks with rope.
Kamishibai man Tameharu Nagata announcing a performance with hyoshigi clapping sticks. See photos of our visit with him in Tokyo.
Thunder Tube
Another popular sound effect comes from a Thunder Tube a percussion instrument made by combining a small drum and a coiled spring. (See it at Amazon.) We whip out the Thunder Tube during the storm scenes in Momotaro and Moon Princess and the grumbling-stomach scene in Jack & the Beanstalk. Audience members always come up afterwards asking to try it themselves.
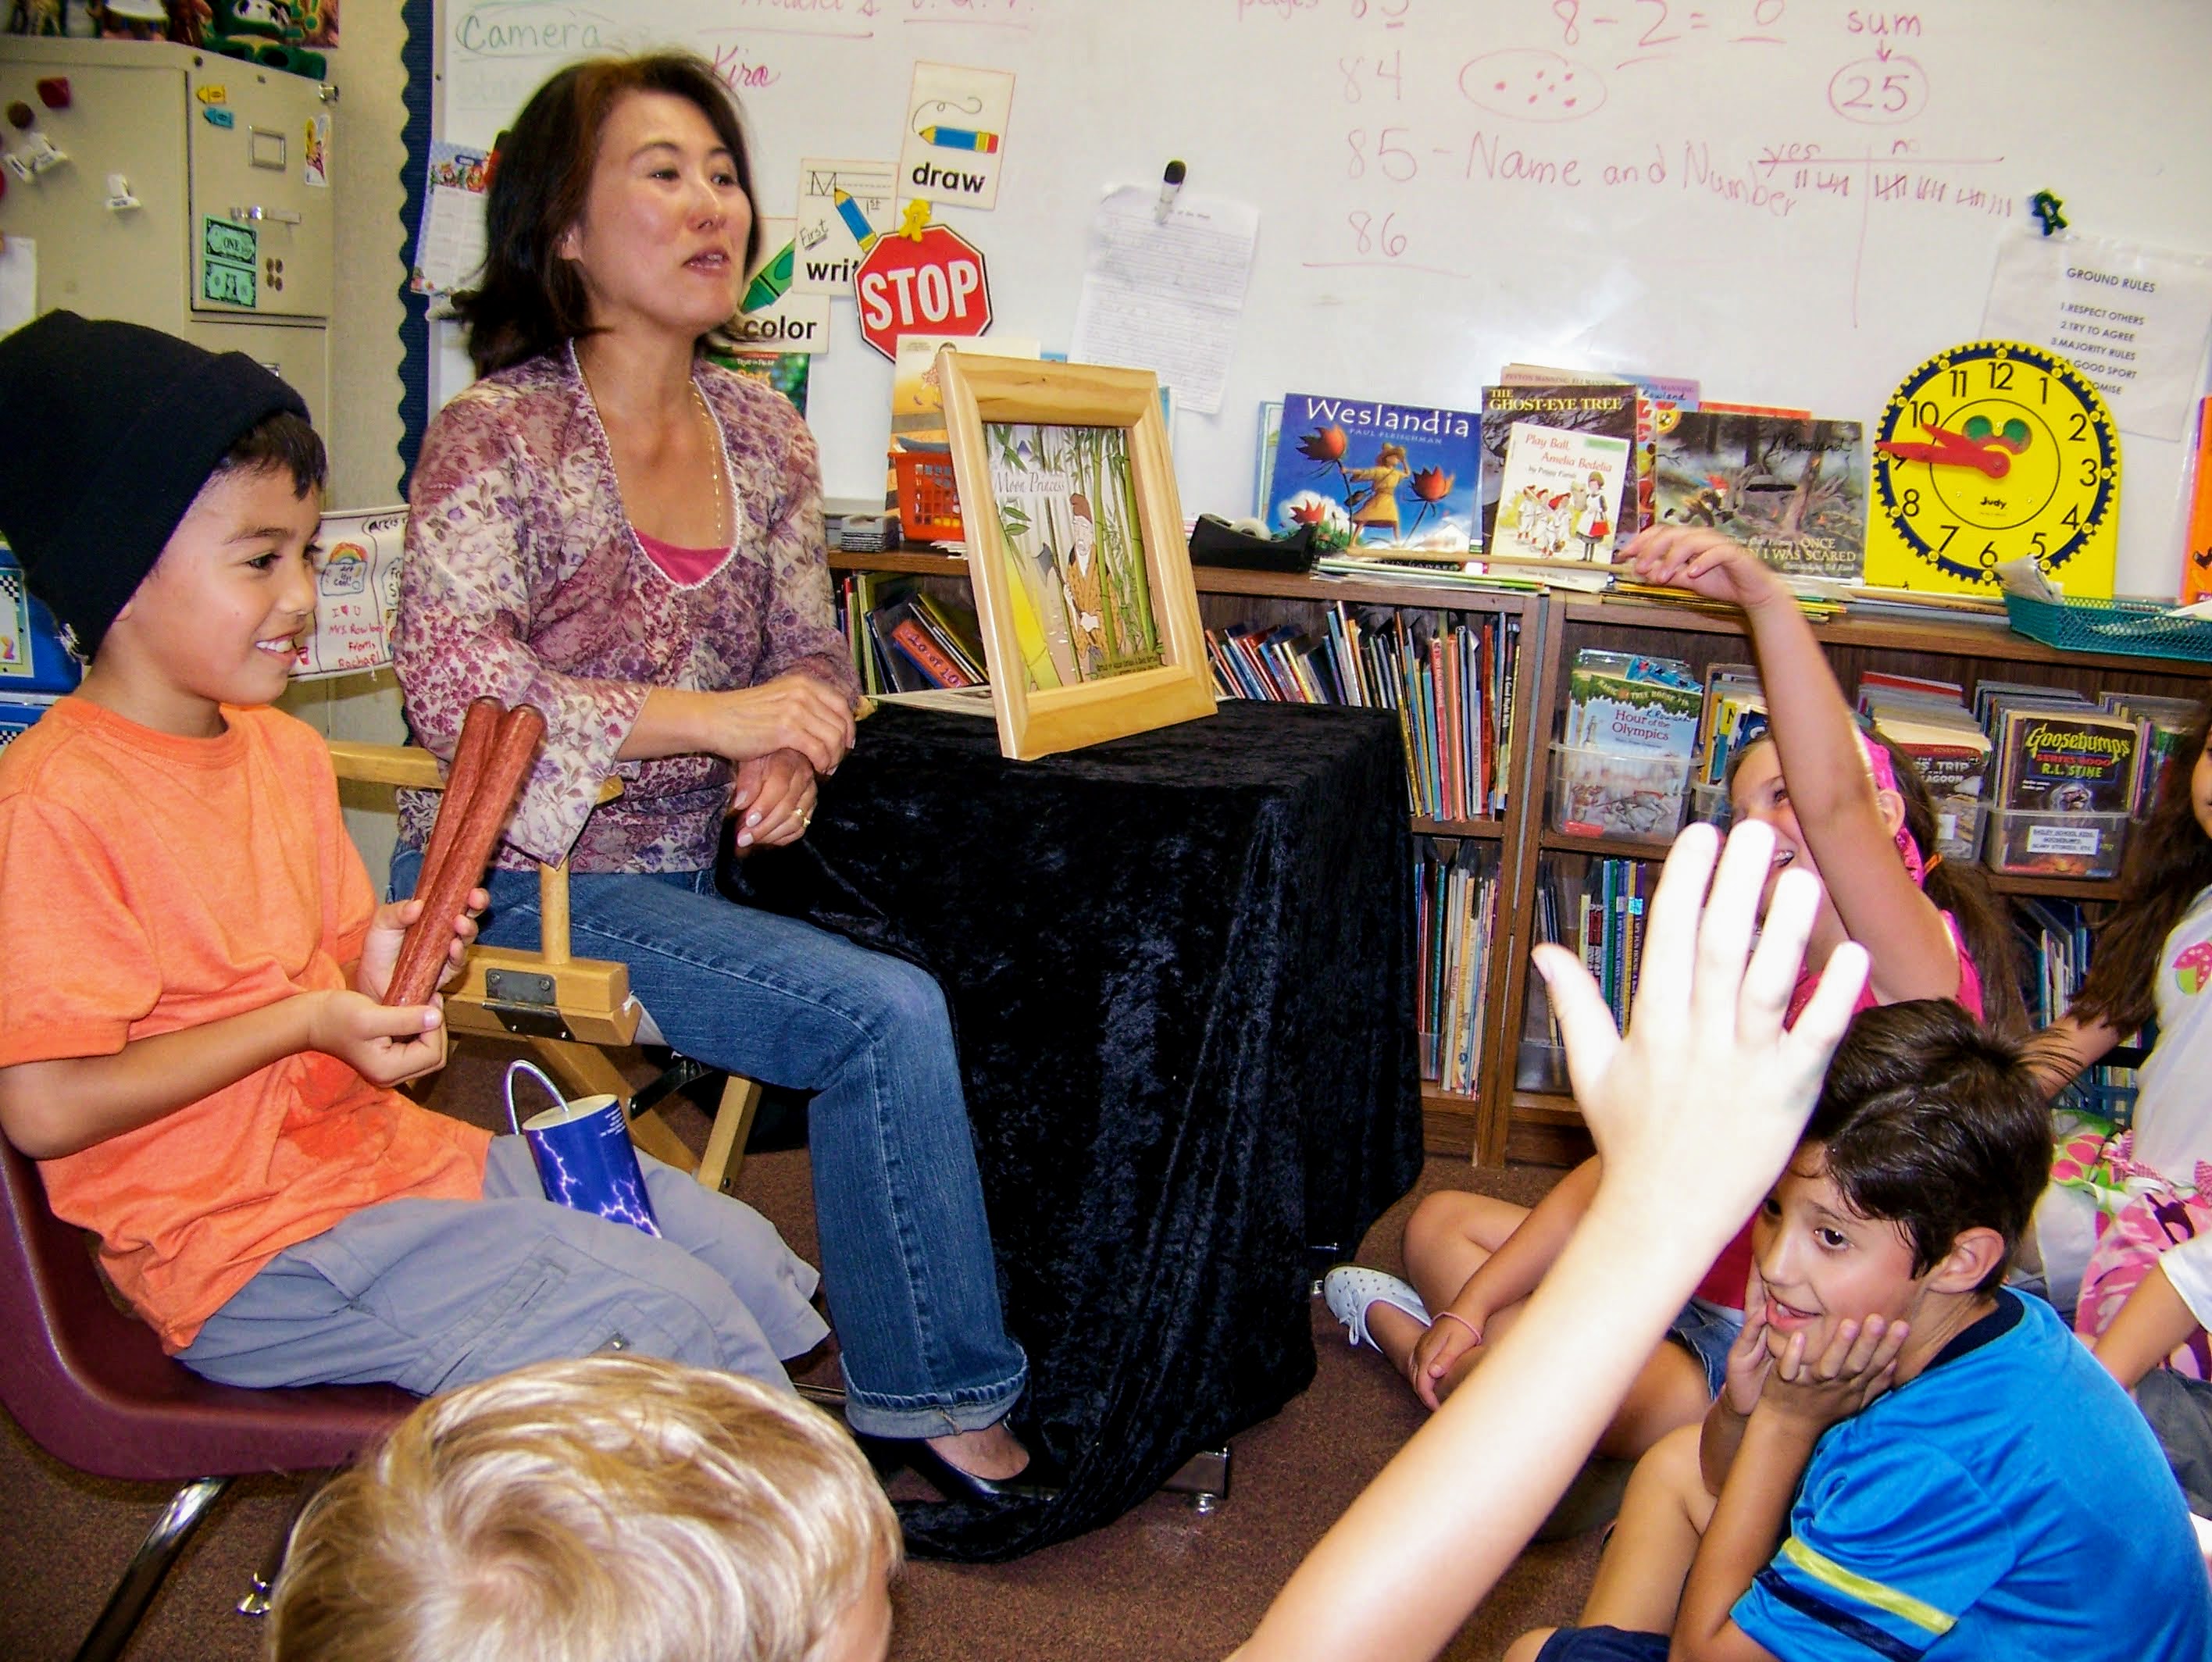
The student in orange is helping make sound effects with claves and a Thunder Tube.
The Momotaro Song
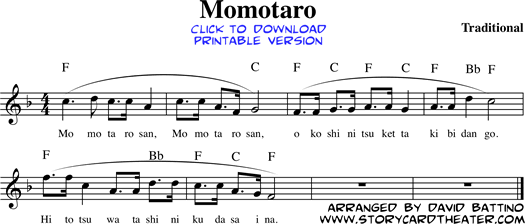
We begin and end Momotaro the Peach Boy by playing the Momotaro song on an alto recorder. During the scene where Momotaro meets the animals, we often sing the song in either English or Japanese. Here’s some simplified sheet music to download and print.
Make a Stage
Using a presentation frame (butai) frees your hands to make dramatic gestures. For example, in Momotaro, we hold the claves on our heads to simulate the ogre’s horns. In Jack, we lurch forward and pretend to grab the head of an audience member when the text says, “With a terrible roar, the giant stretched out his huge, hairy hand to grab the boy.” When Jack starts chopping down the beanstalk, we stand up and swing one clave like an axe.
Traditional butai are made from deep wooden frames with shutters on the front. (See examples.) The kamishibai performer slowly opens the shutters to simulate curtains unveiling a stage. More elaborate frames are mounted on bicycles.
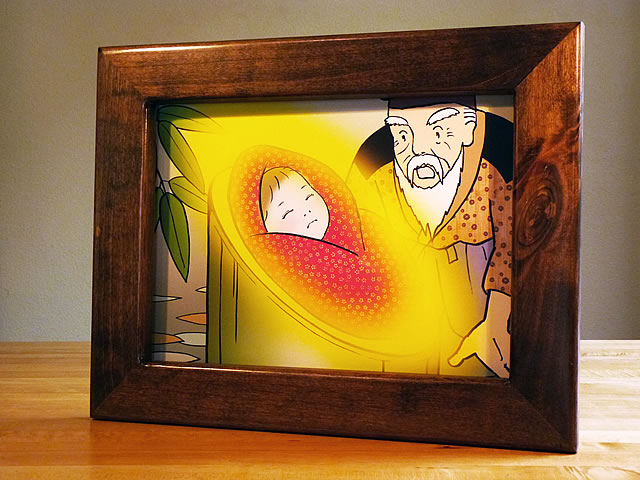
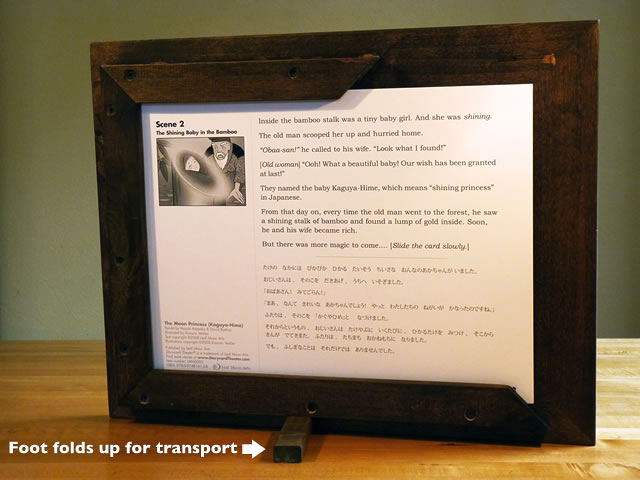
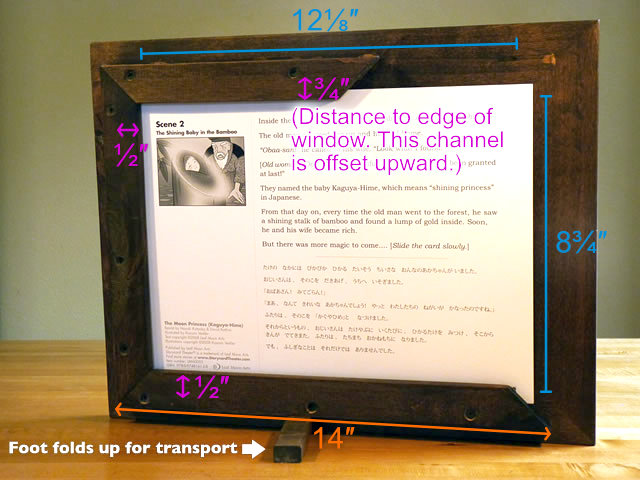
We went for a more portable approach, using a picture frame with a channel on the back to guide the cards and a fold-out foot. This slideshow below shows the two sides of our frame and the dimensions.
The opening in our frame is about ⅞-inch smaller than our cards, which are 13×9⅝ inches. The magenta numbers on the third slide show the distance from the bottom of the channel to the edge of the window. The blue numbers show the window size.
If you already have a stage with a larger opening, you can modify our cards to fit. Simply photocopy the text side, mount the cards to pieces of posterboard with tape or glue dots, and then tape or glue the photocopied text to the back. (Note that with kamishibai, you read off the bottom of the deck, so you’ll need to offset the text and artwork by one card. Our kamishibai performance and construction tips PDF explains how.
Make Your Own Kamishibai
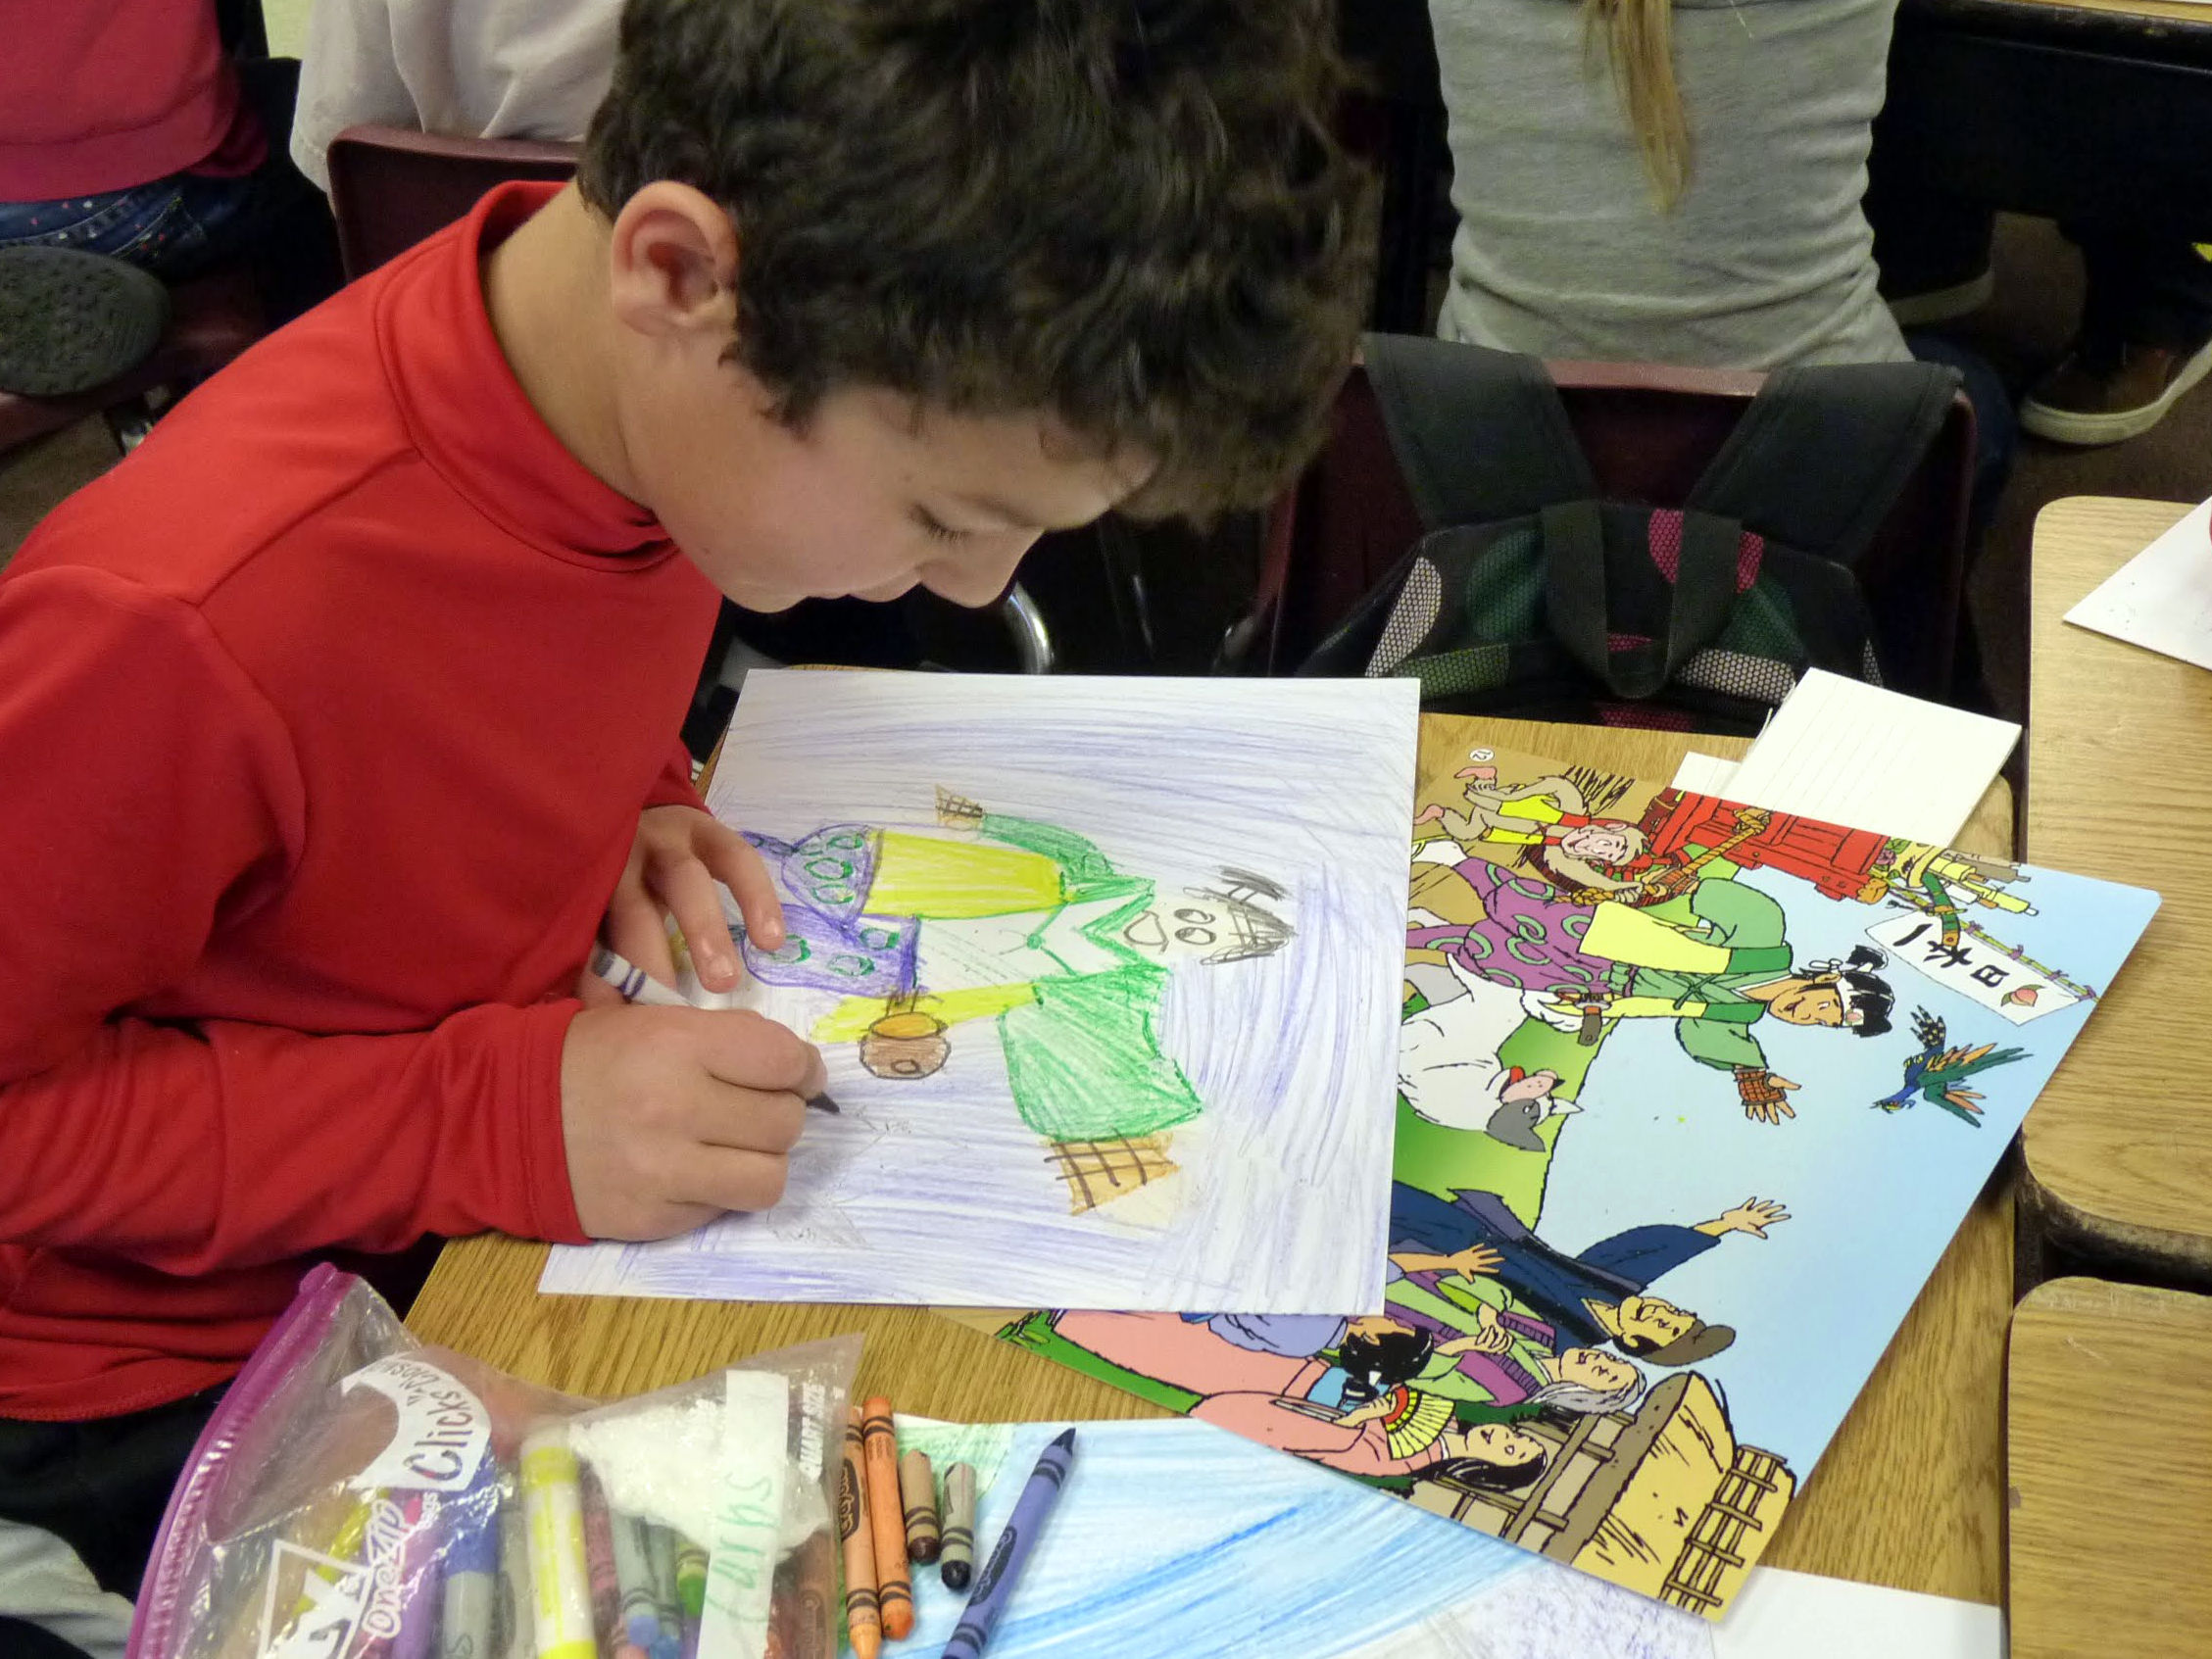
In our school workshops, we’ve shown many students how to create their own kamishibai stories. This free PDF collects some of our techniques. We also offer sets of blank storycards in our store.
How-To Video
The World Kamishibai Forum invited us to record a 30-minute video on making, performing, and publishing kamishibai. Click in the progress bar to jump to different sections, including a full performance of The Cat with No Name. Visit the forum’s video archive to see other kamishibai performers from around the world.
Have tips of your own? Let us know!
